Supported Custom Actions
Introduction
The Flows comes with several built-in actions for fetching content, registering in the catalog and of course actions for creating and publishing a git repository.
There are several repository providers supported out of the box such as GitHub, Azure, GitLab and Bitbucket.
How To View Supported Actions
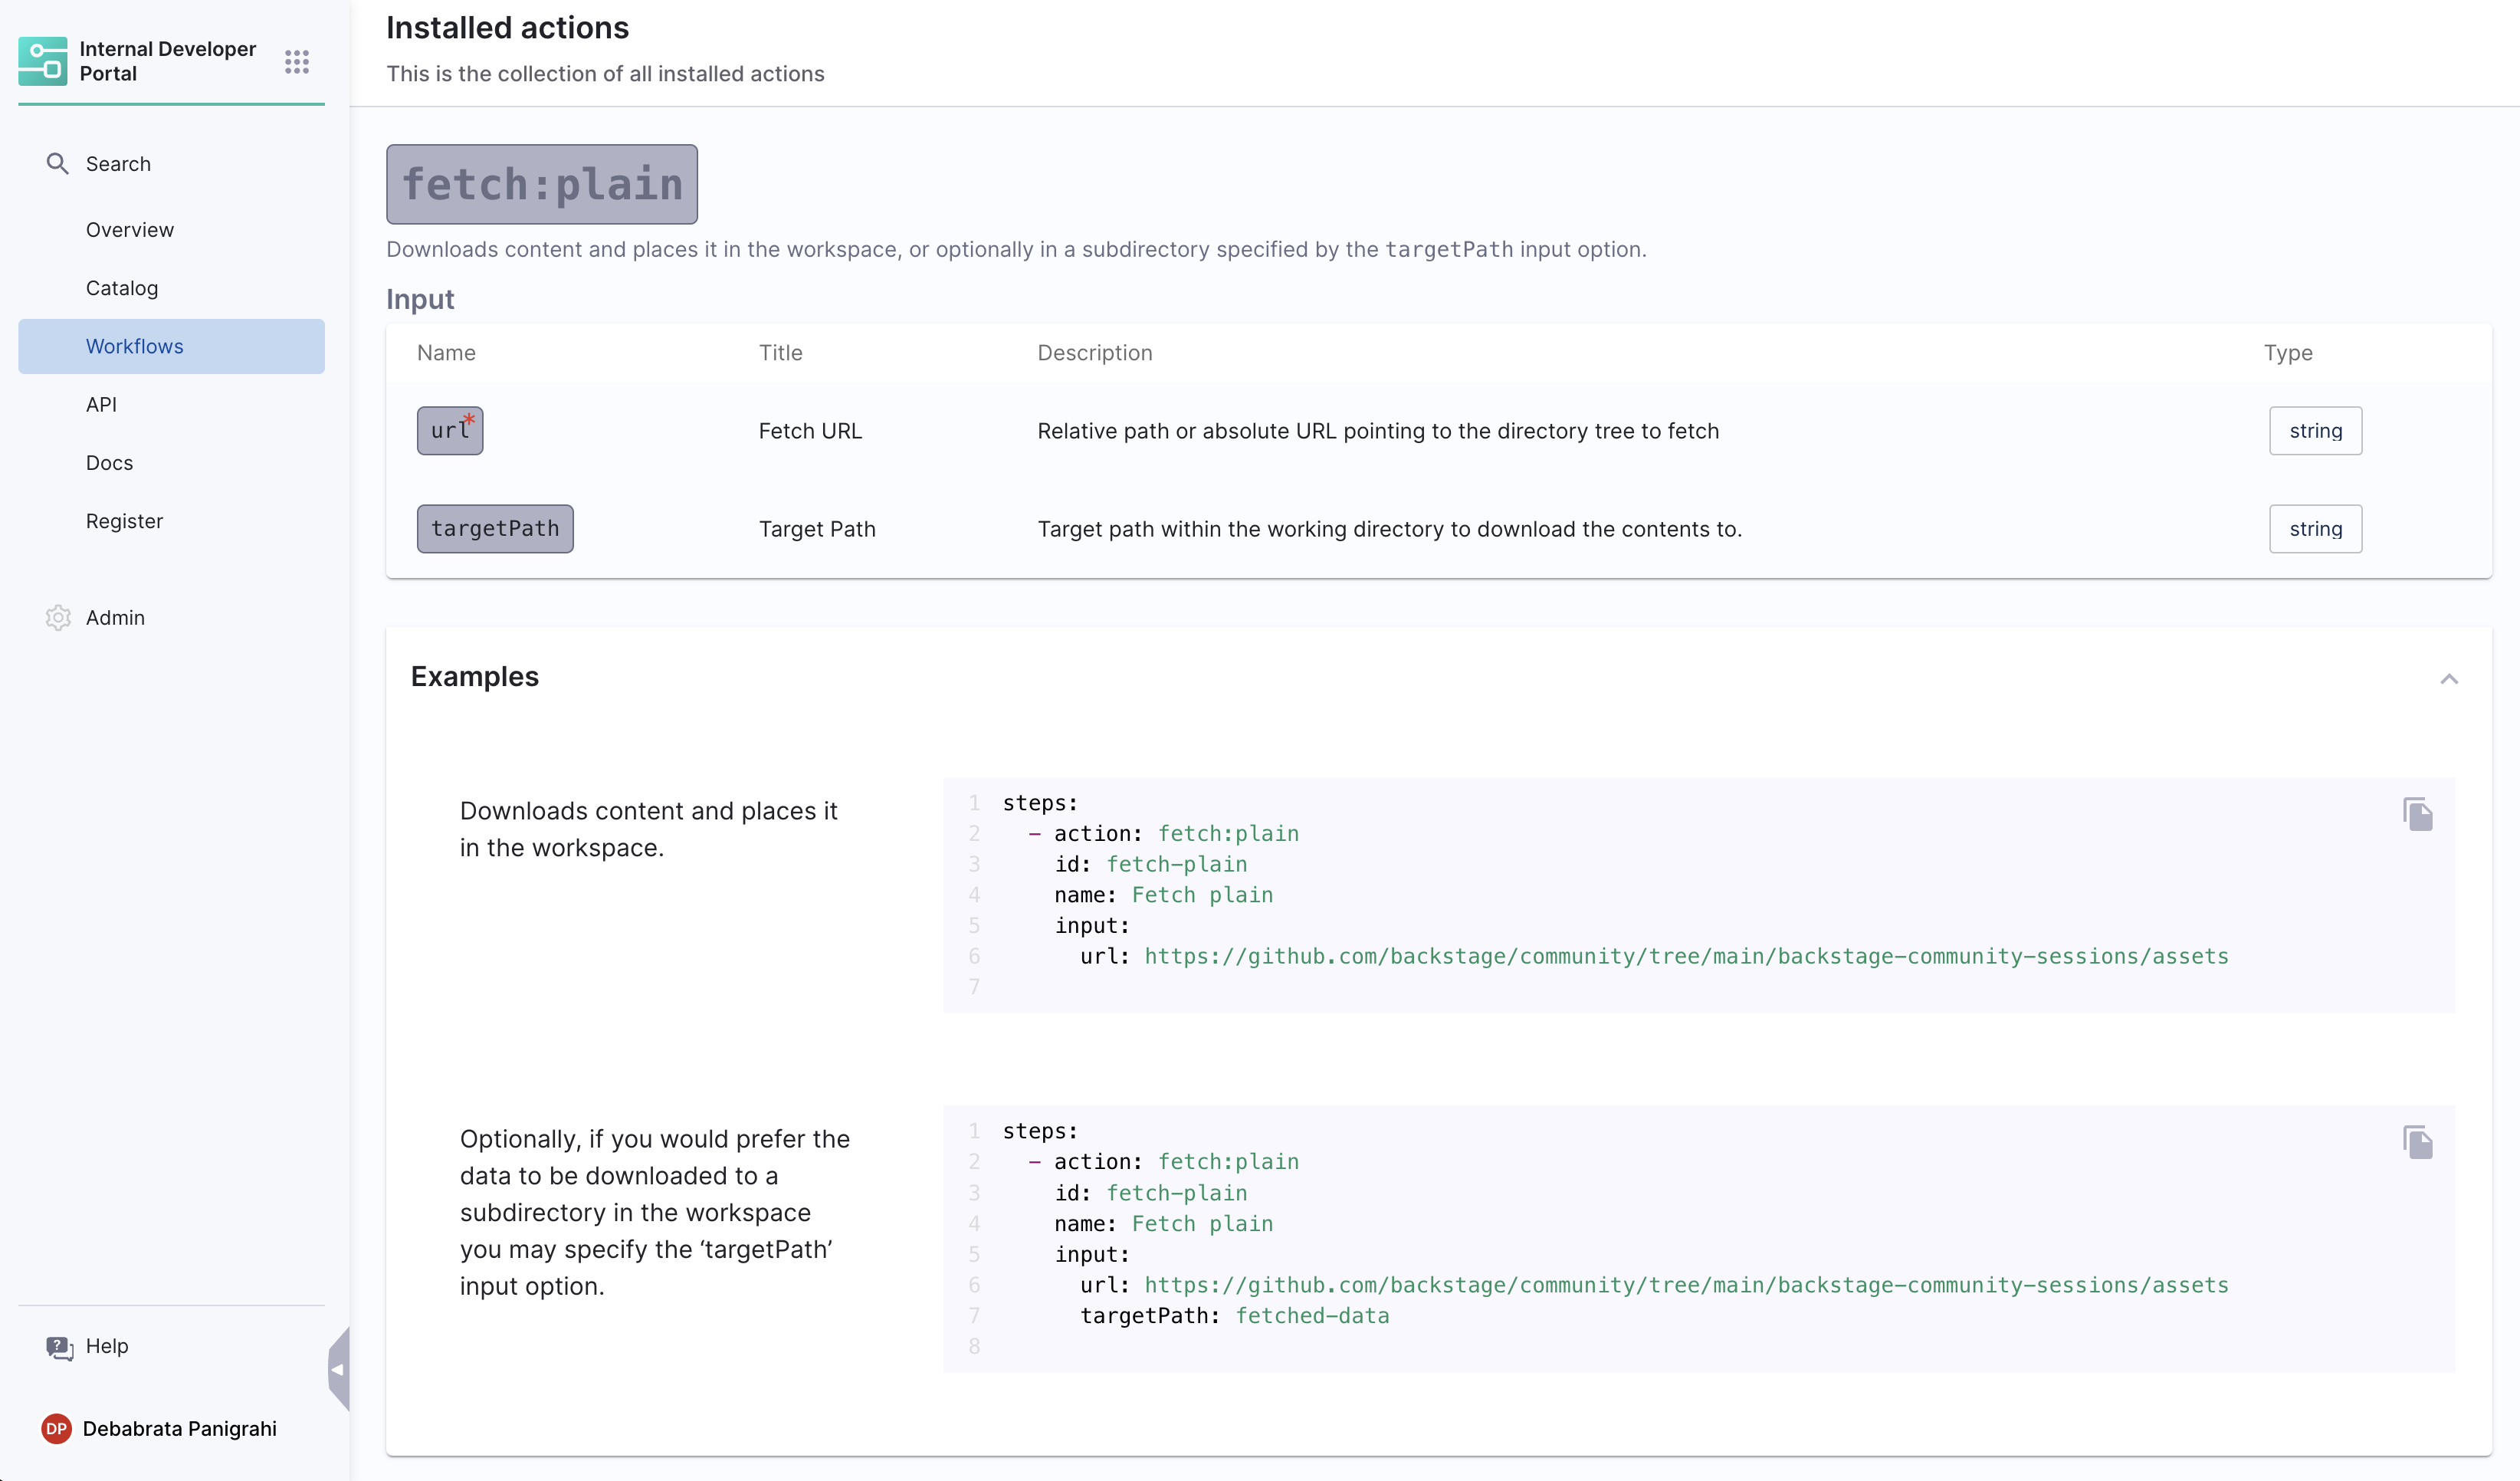
A list of all registered custom actions can be found under
Workflows/Create/Self Service -> Installed Actions

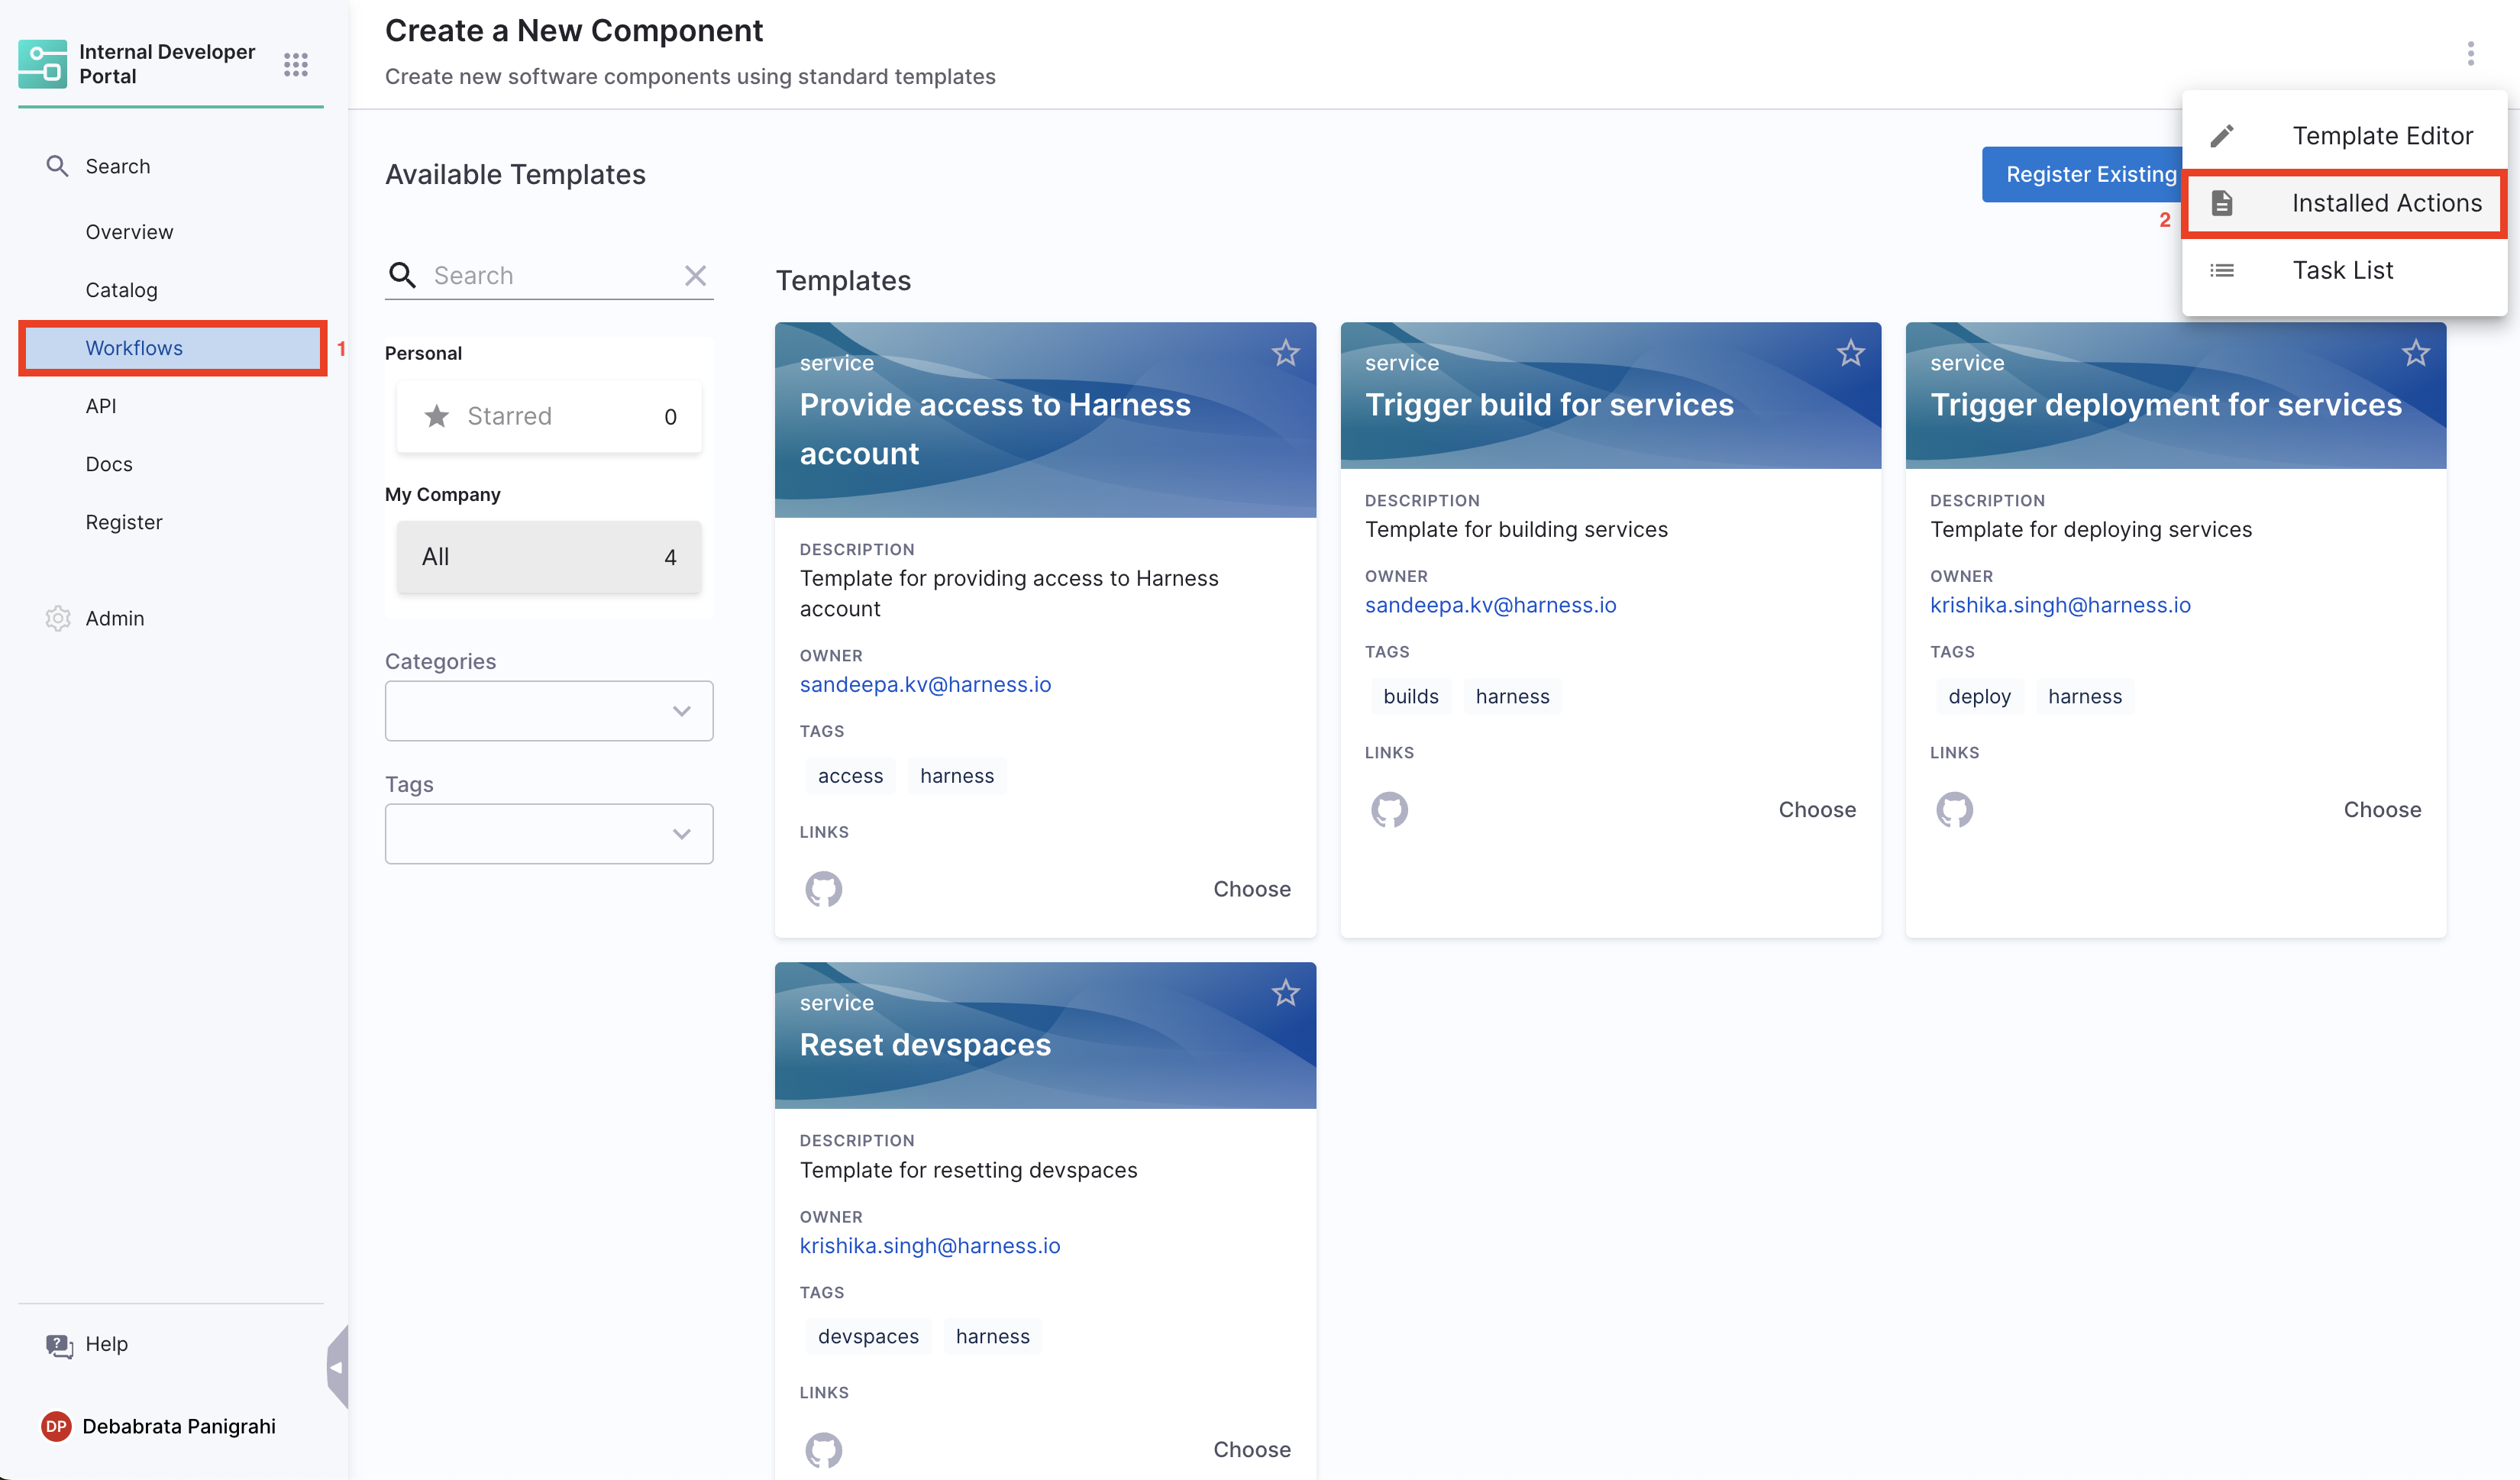
Harness Specific Custom Actions
1. trigger:harness-custom-pipeline
## Example
steps:
- id: trigger
    name: Creating your react app
    action: trigger:harness-custom-pipeline
    input:
    url: "https://app.harness.io/ng/account/vpCkHKsDSxK9_KYfjCTMKA/home/orgs/default/projects/communityeng/pipelines/IDP_New_NextJS_app/pipeline-studio/?storeType=INLINE"
    inputset:
        project_name: ${{ parameters.project_name }}
        github_repo: ${{ parameters.github_repo }}
        cloud_provider: ${{ parameters.provider }}
        db: ${{ parameters.db }}
        cache: ${{ parameters.cache }}
    apikey: ${{ parameters.token }}
In the above example the apikey parameter takes input from Harness Token which is specified under spec as a mandatory paramenter as mentioned below
...
token:
    title: Harness Token
    type: string
    ui:widget: password
    ui:field: HarnessAuthToken
    ...
Without the above parameter input the pipeline won't be executed. Please take a look at this example
Output
Title: Name of the Pipeline.url: Execution URL of the Pipeline eg:https://app.harness.io/ng/account/********************/module/idp-admin/orgs/default/projects/communityeng/pipelines/uniteddemo/executions/**********/pipeline?storeType=INLINE
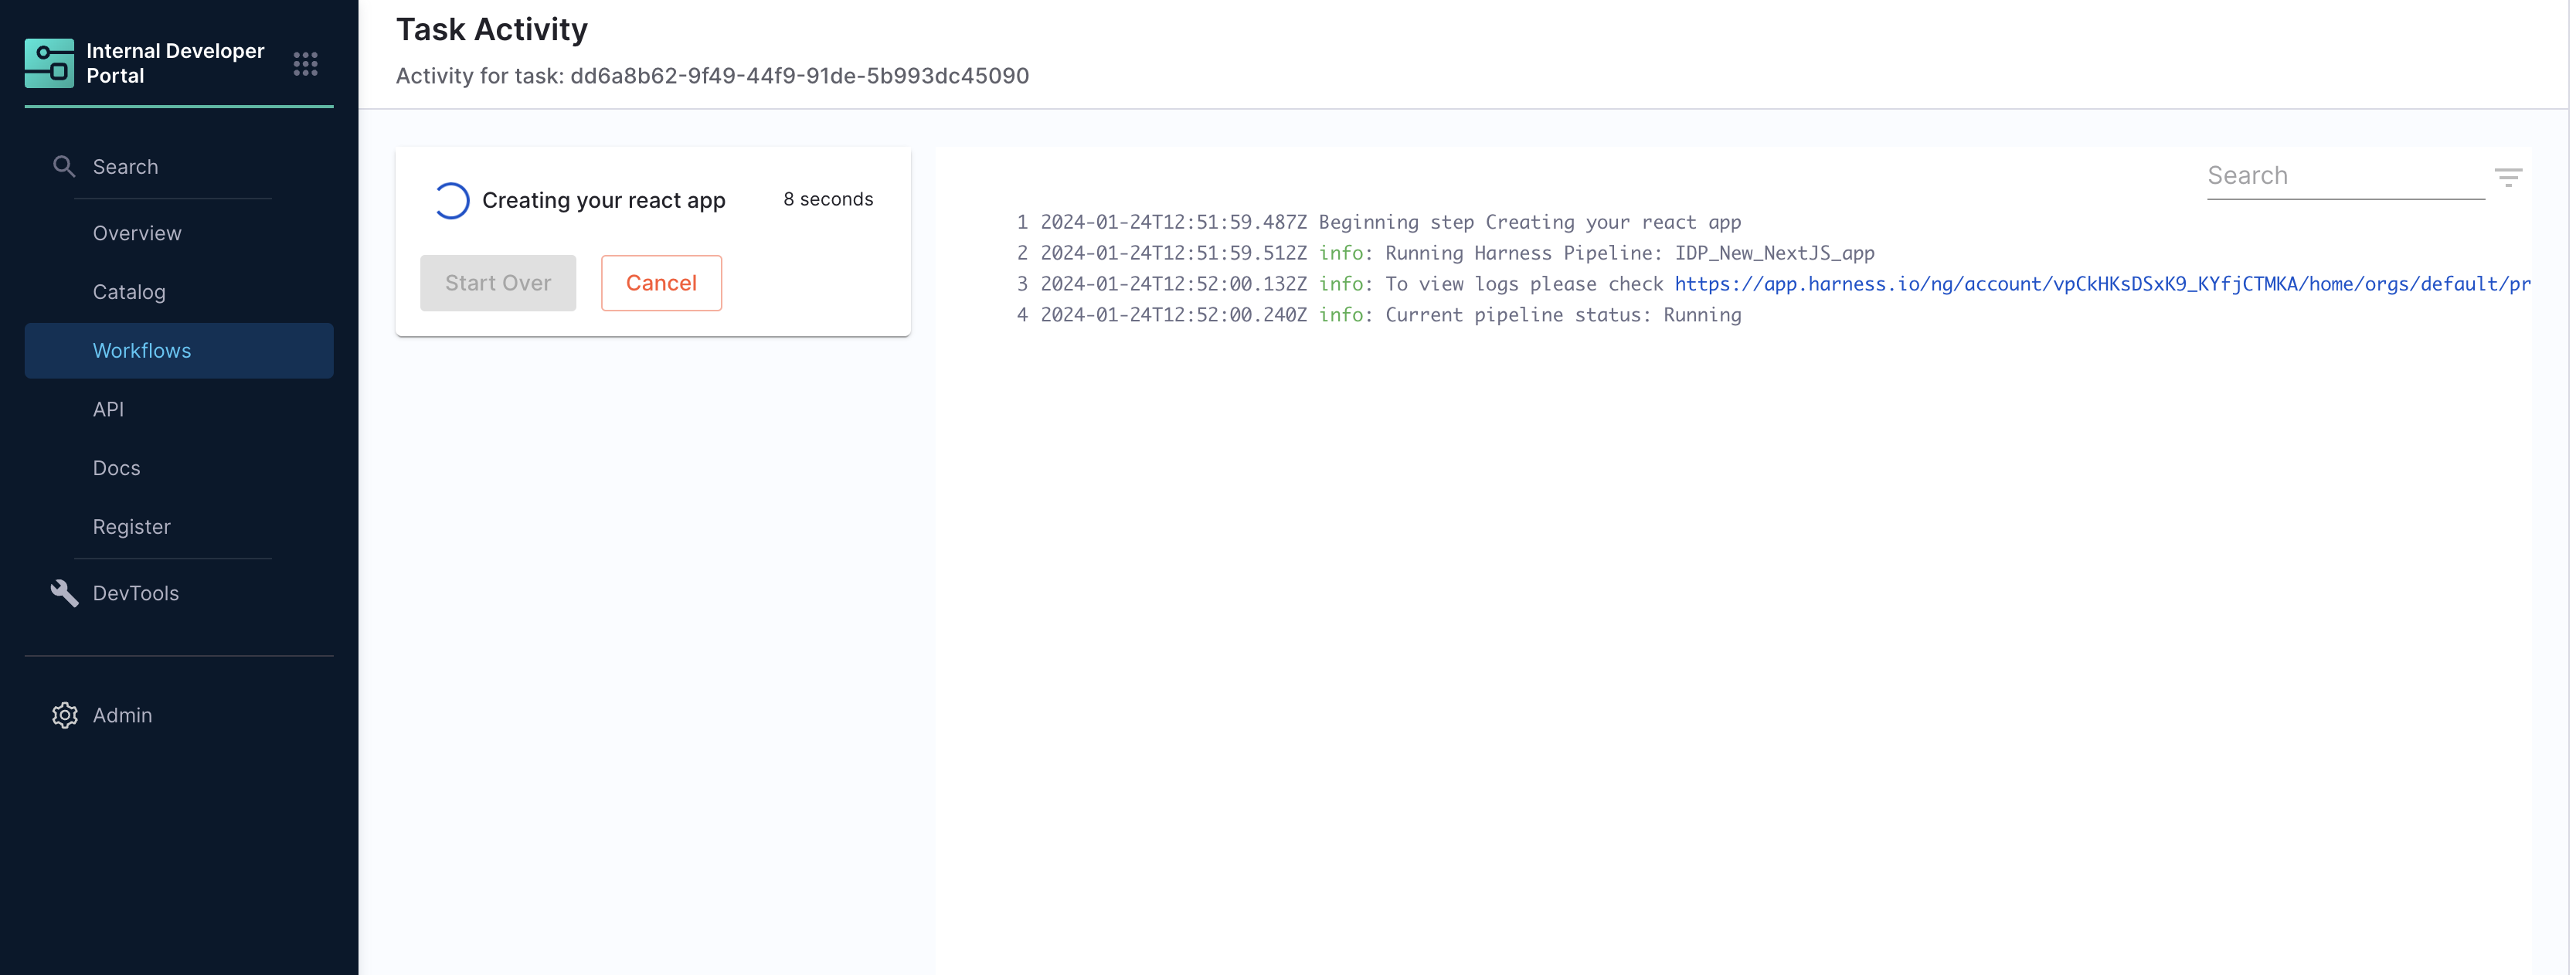
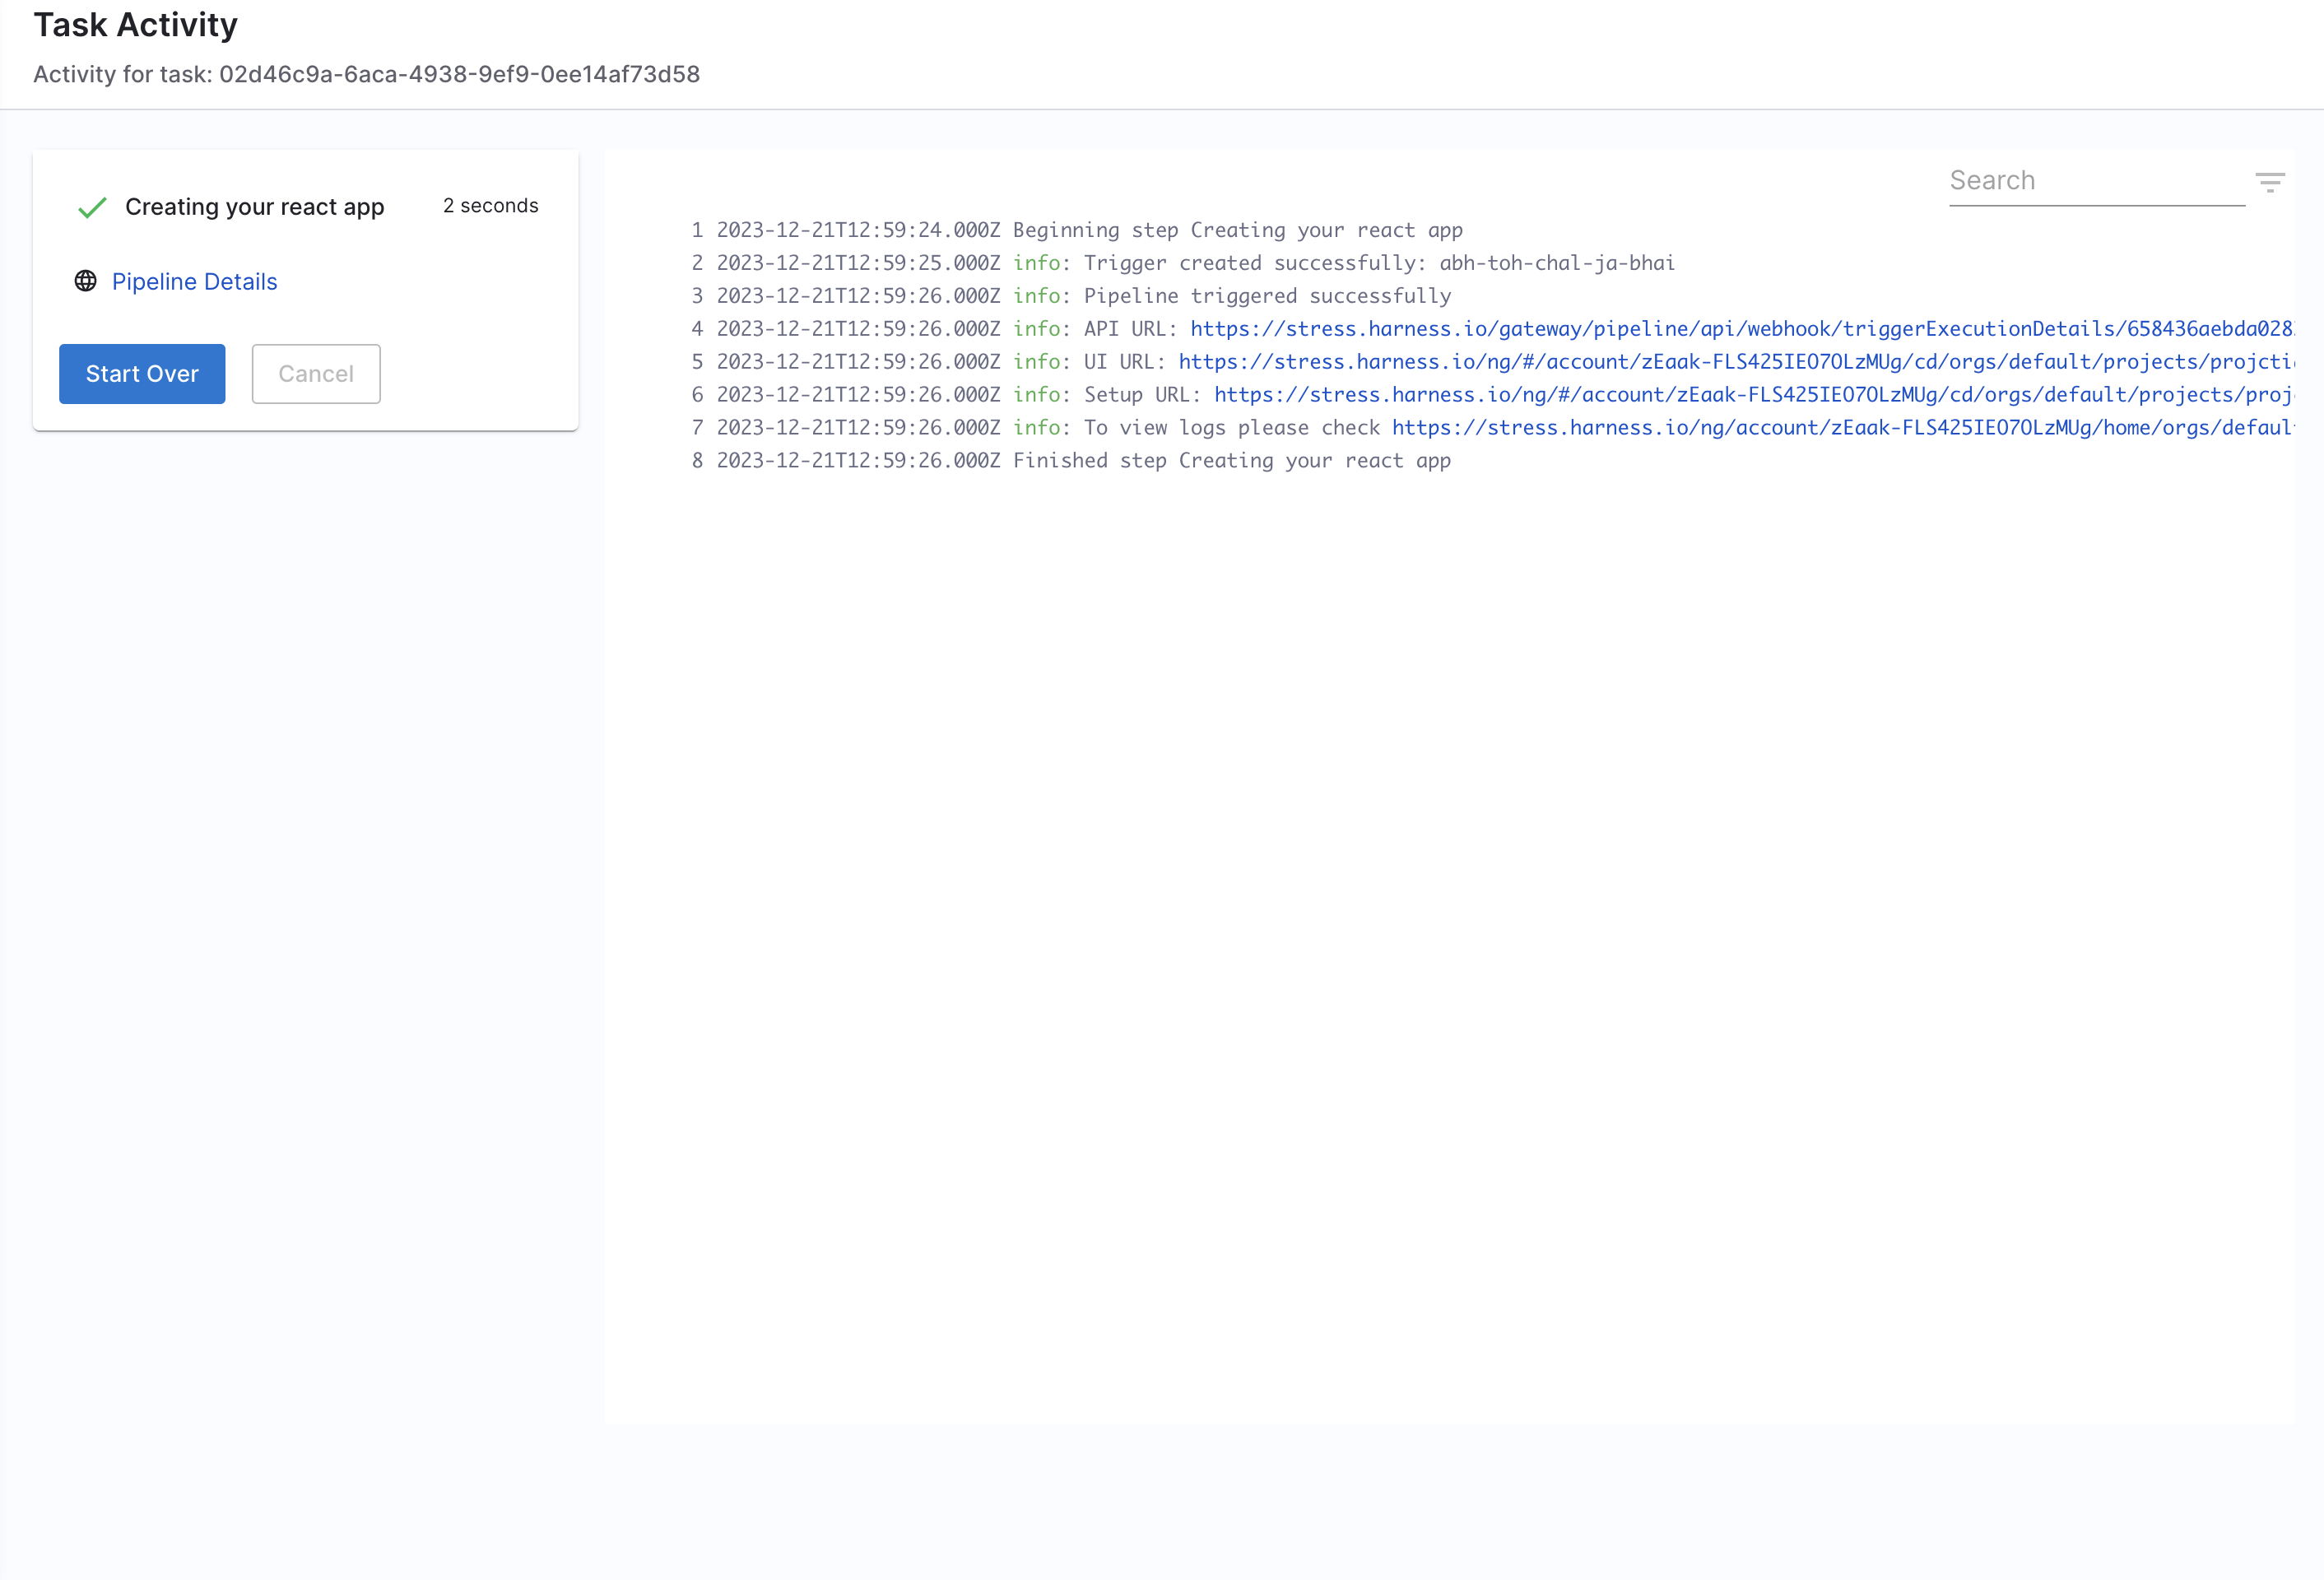
Once you create the workflow with this custom action, you can see the pipeline URL running in the background and executing the flow.
2. trigger:trigger-pipeline-with-webhook
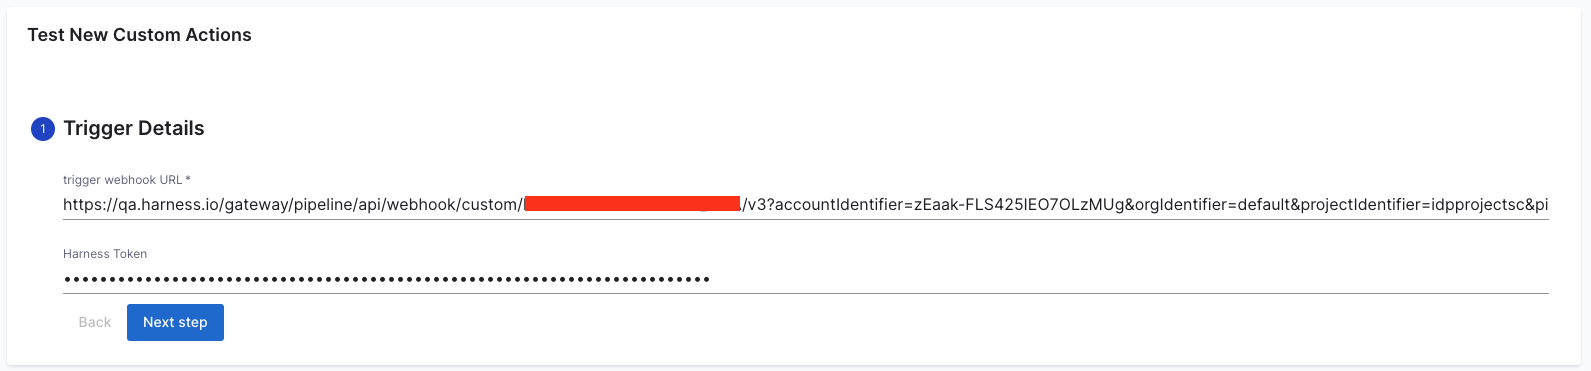
This custom action could be used to trigger a pipeline execution based on the webhook url input for custom triggers.
## Example
...
steps:
- id: trigger
    name: Creating your react app
    action: trigger:trigger-pipeline-with-webhook
    input:
    triggerWebhookurl: ${{ parameters.triggerWebhookurl }}
    x_api_key: ${{ parameters.x_api_key }}
...
In the above example API key is an optional paramenter, and is required in case of Mandate Authorization for Custom Webhook Triggers is set to true for Pipeline under Default Settings in Account Settings.
Here's an example template using the above mentioned custom action.
Output
Title: Name of the Pipeline.url: Execution URL of the Pipeline eg:https://app.harness.io/ng/account/********************/module/idp-admin/orgs/default/projects/communityeng/pipelines/uniteddemo/executions/**********/pipeline?storeType=INLINE
Once you create the workflow with this custom action, you can see the pipeline URL running in the background and executing the flow.
3. harness:create-secret
4. harness:delete-secret
Custom Field Extensions
Collecting input from the user is a very large part of the scaffolding process and Software Templates as a whole. Sometimes the built in components and fields just aren't good enough, and sometimes you want to enrich the form that the users sees with better inputs that fit better.
This is where Custom Field Extensions come in.
Harness Specific Custom Extensions
HarnessOrgPicker
#Example
...
orgId:
    title: Org Identifier
    type: string
    ui:field: HarnessOrgPicker
    ...
HarnessProjectPicker
#Example
...
projectId:
    title: Project Identifier
    description: Harness Project Identifier
    type: string
    ui:field: HarnessProjectPicker
    ...
Custom Actions Usage Limitations
| Custom Action | Pipelines and Stages |
|---|---|
| trigger:harness-custom-pipeline | Supports only custom stage and codebase disabled CI stage with Run step |
| trigger:trigger-pipeline-with-webhook | Supports all the pipelines with a custom webhook based trigger |
Other Supported Extensions
Here's a list of all the other supported custom extensions in Harness IDP.